Turing Tumble Community

Challenge #3: Ball sorting/reset system?

Hello everyone,

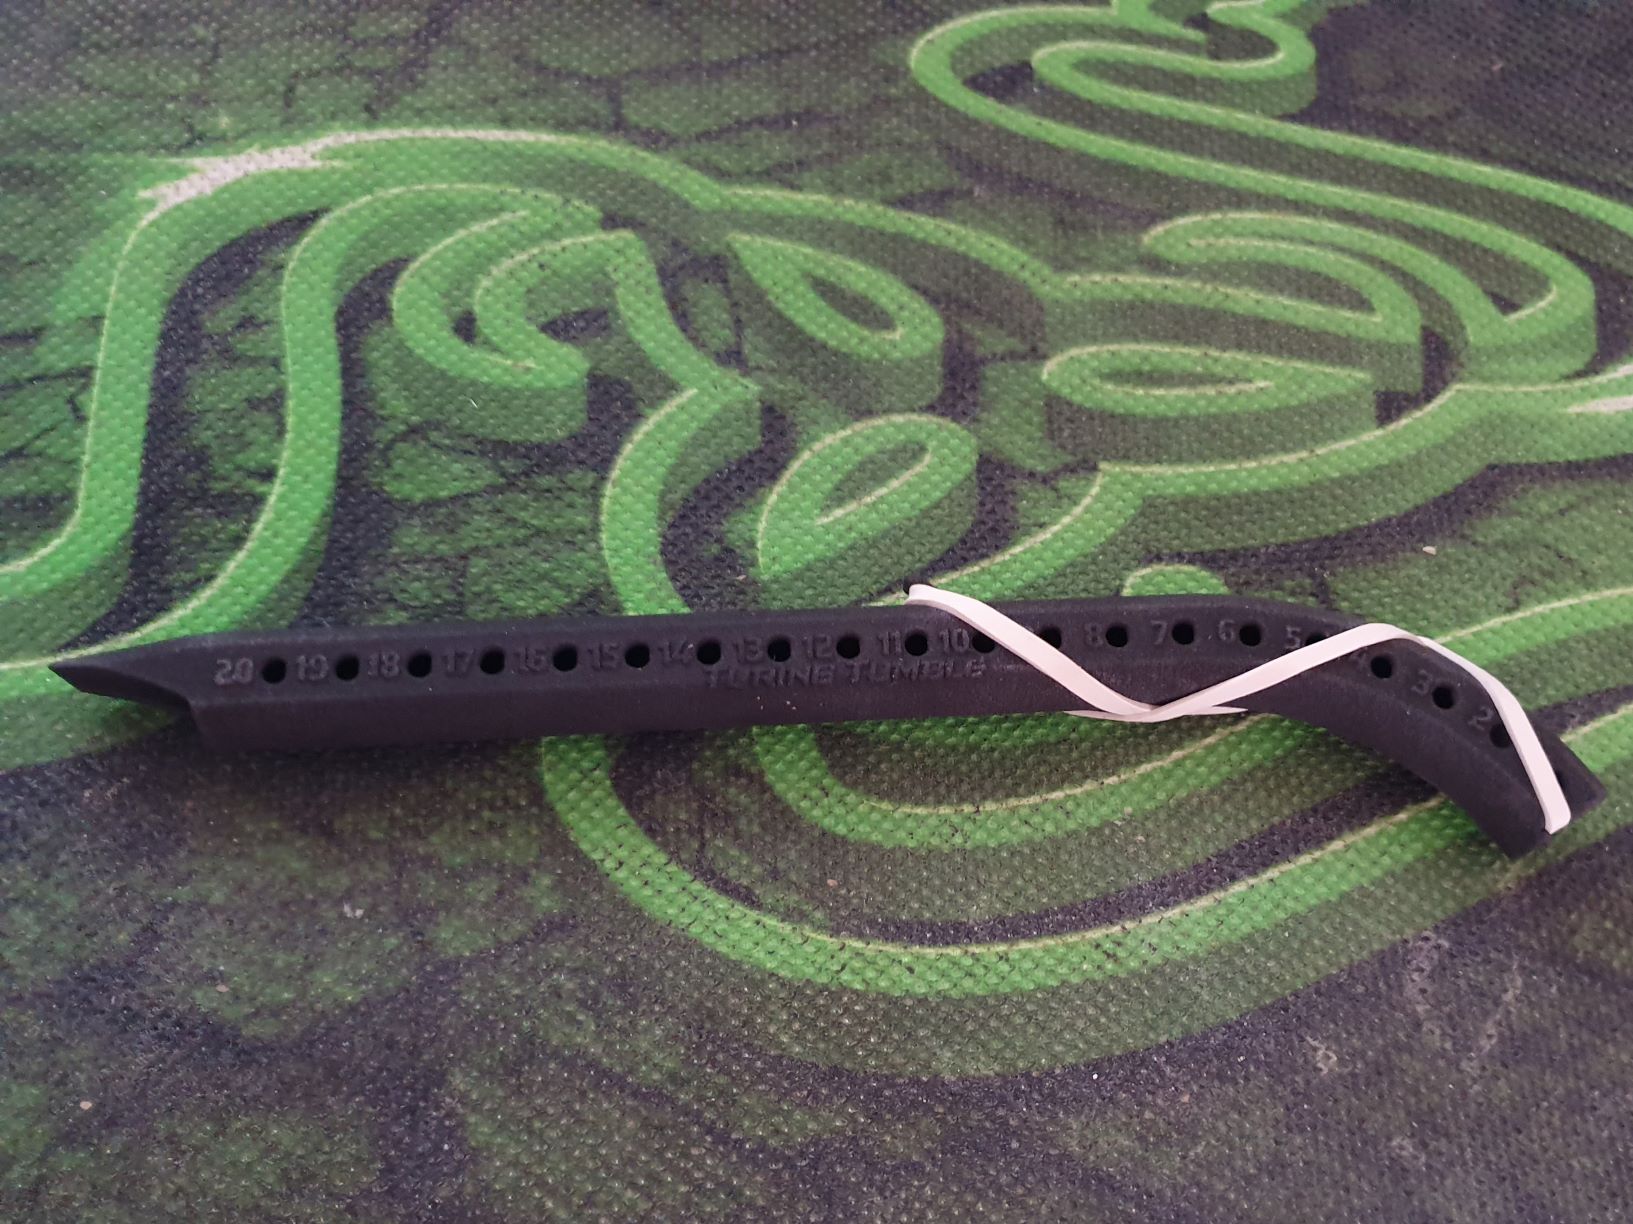
Thank you all for your ideas! They’re fantastic. We thought about making something motorized, but decided against it because we want to keep it all mechanical. We also considered modifying the board itself to make it easier to get the balls off the board, but I think what we ended up making is better. I made something like the drinking straw idea several of you suggested. It looks like this:

Ball%20reloader

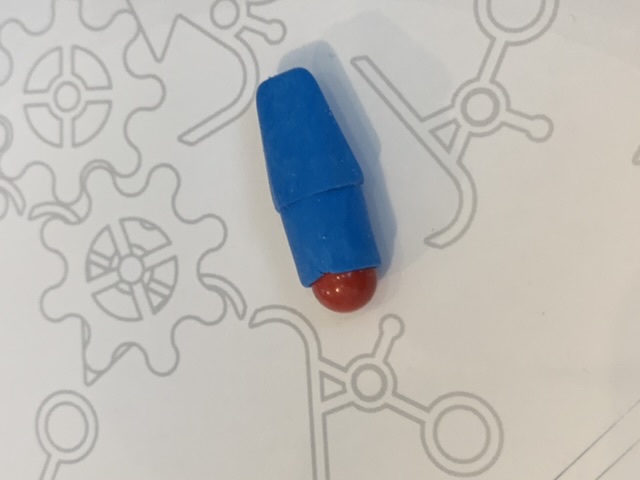
You push it down over a ball and the ball pushes by the rubber band, but doesn’t come back out. You can keep pushing it over balls to pick up more. You can also see how many balls you have in the loader by looking through the holes in the side. Here it is in action:

We’re going to make injection molds for this and have it available on our website, but it will take at least a few months before it’s ready. In the meantime, you can 3D print your own. Here’s everything you need:

Rubber band:

The rubber band is a #31 size (2.5" long, 1/8" width, 1/32" thick). You can find it (or something very similar) in pretty much any pack of assorted rubber bands.

STL files:

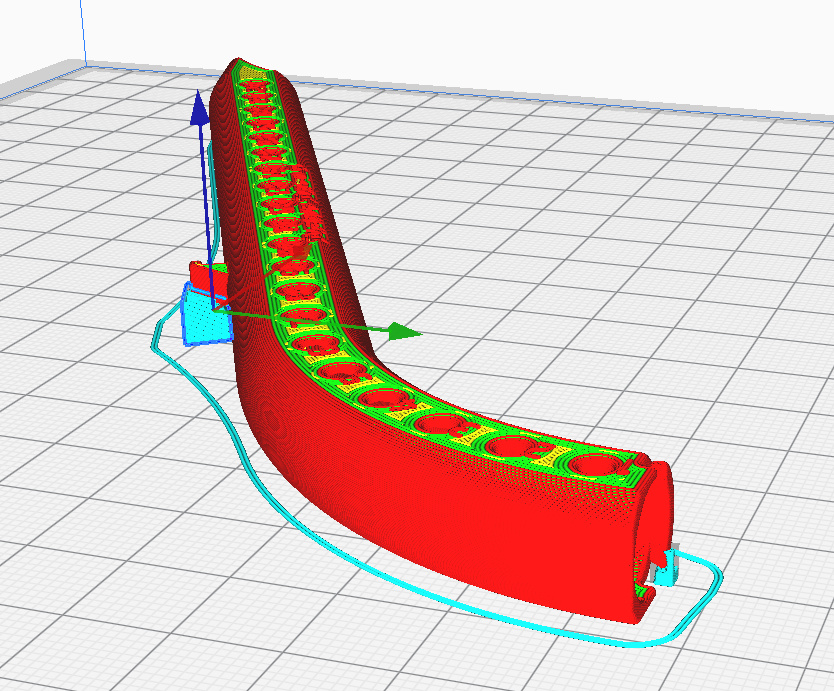
I have two options for you. If you have a 3D printer with a dual extruder, you can print the whole thing in one shot, using PVA for supports, and then you can wash the supports away afterward. Here is the STL file for that:

20181012 Ball Reloader.stl

image

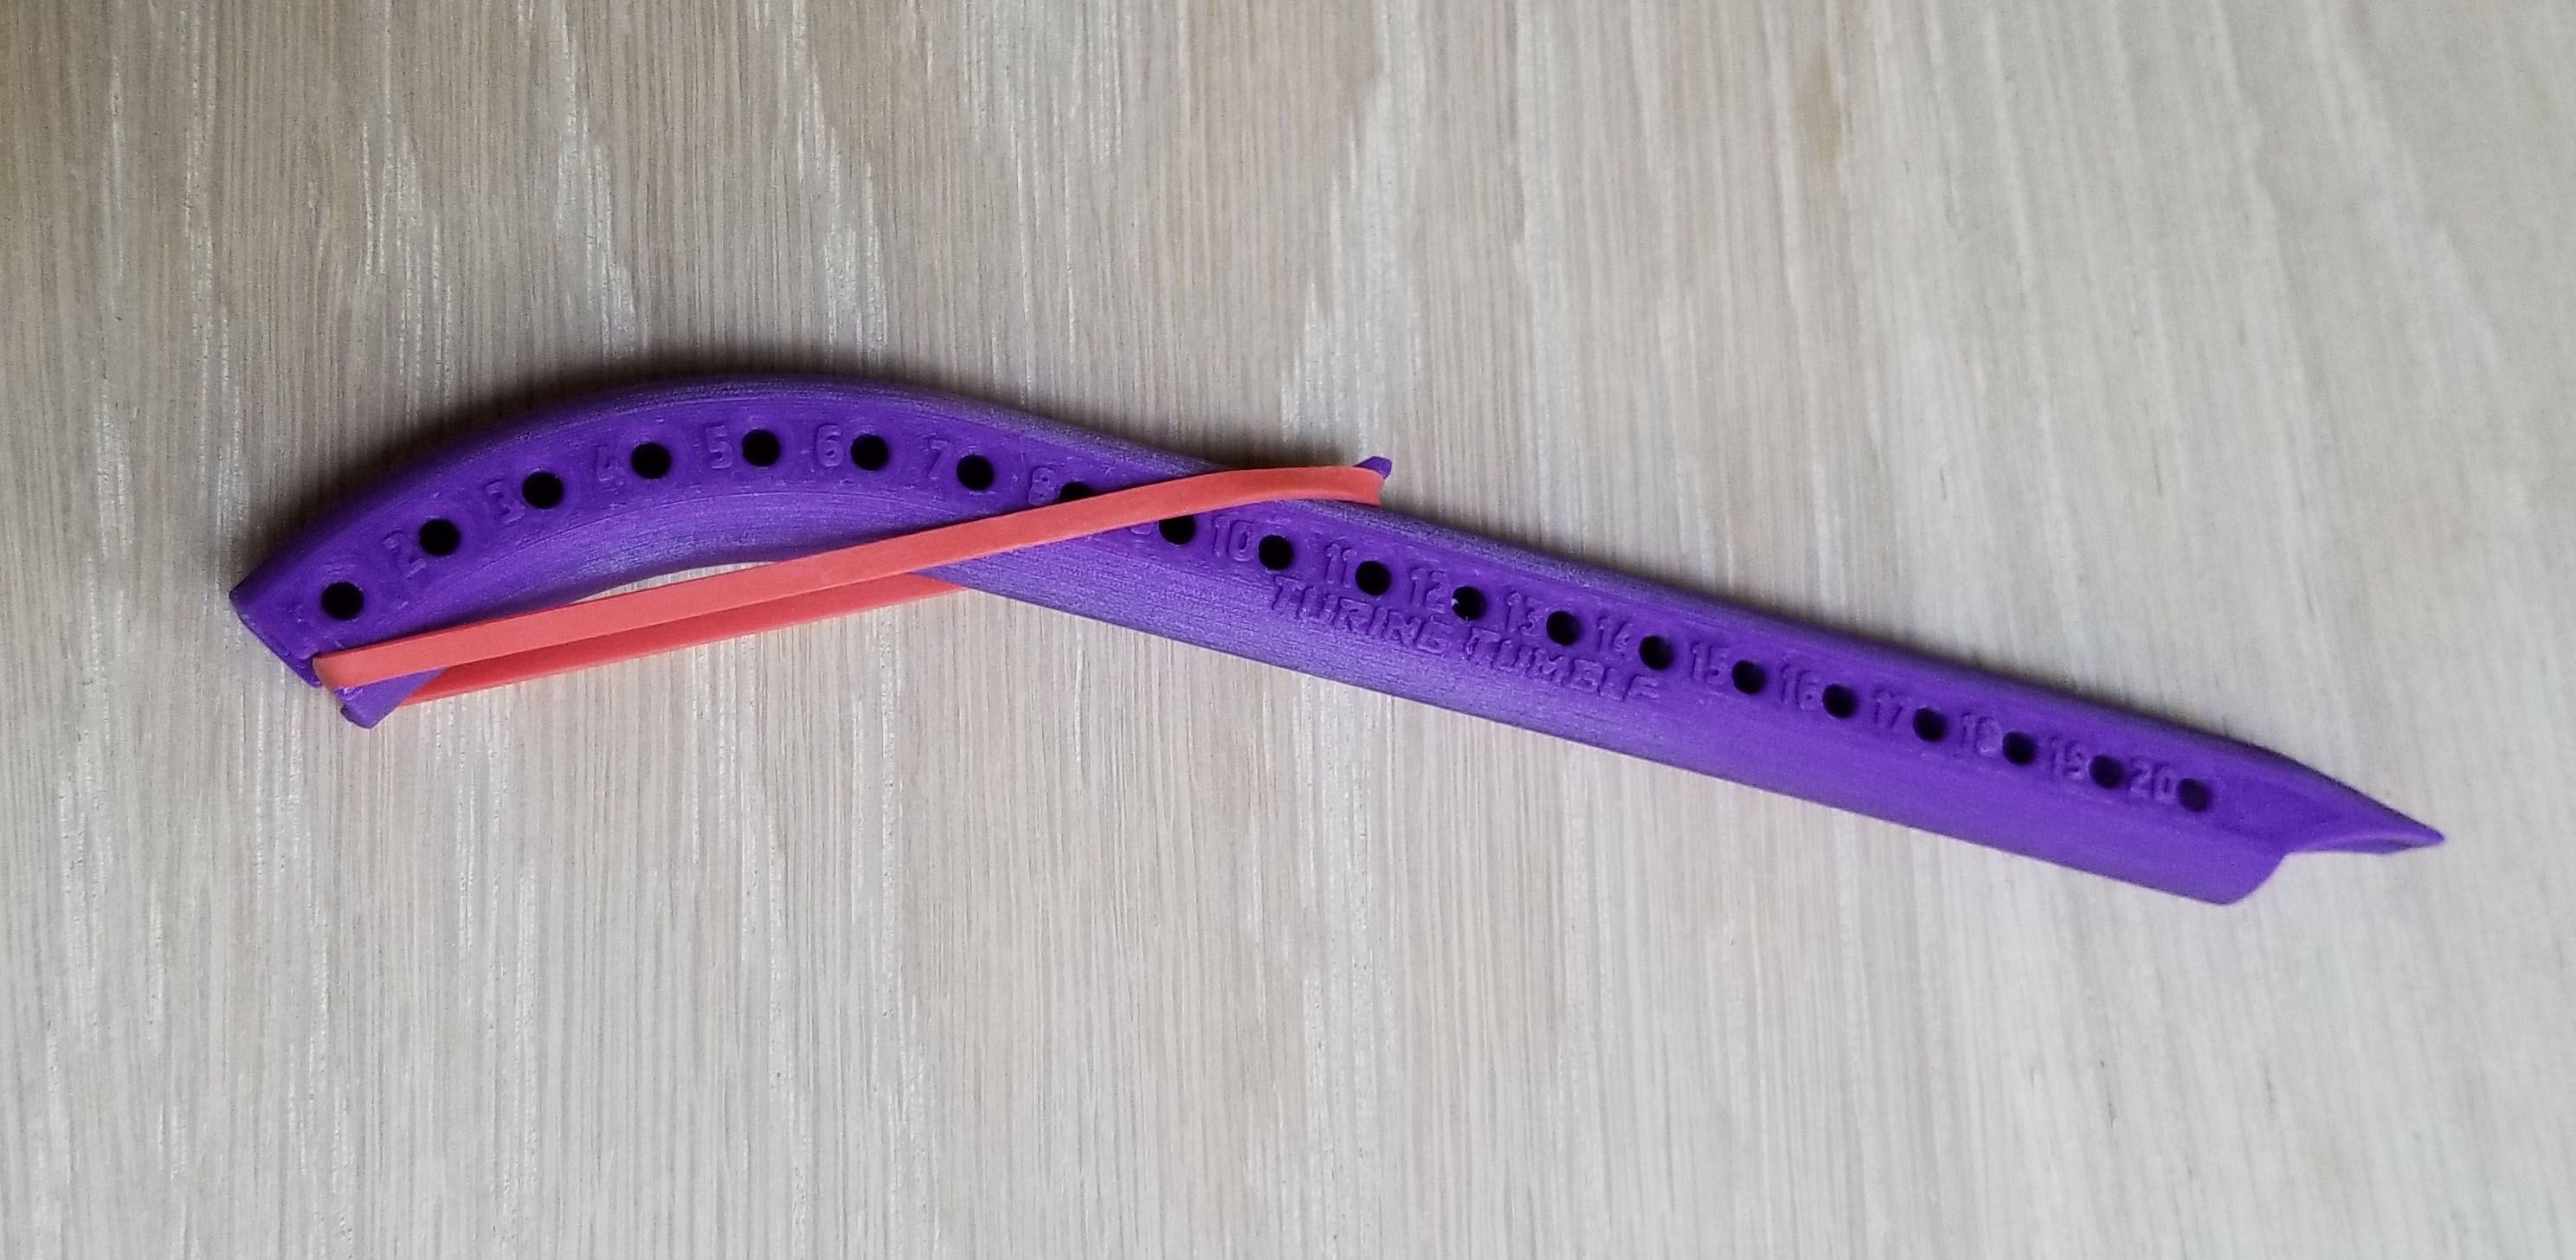
If you have a single extruder (most 3D printers are like this), then you’ll probably need to print it in two sections. Otherwise it would be very difficult to clear out the supports inside the tube once it’s finished printing.

Here’s the ball reloader split in half:

20181012 Ball Reloader Half 1.stl
20181012 Ball Reloader Half 2.stl

image
image

What do you think? We haven’t started making injection molds for it, yet, so if you have any ideas to improve it, we can still make changes.

Thanks again for all the great ideas!

Paul

4 Likes

That’s an impressively elegant solution!

1 Like

Thanks! I’m glad you like it!

1 Like

By the way, I just ordered one to be 3D printed from i.materialise.com for $14.80. I thought that was a shockingly good price. We’ll see how well it works when it arrives.

I’m working on printing this to try it out, but am having some trouble.

The split version has very little contact with the print bed because it comes to a sharp point.

Would you be willing to share the 3d models? I was thinking I could try reversing the pieces and printing with the flat sides down, and increasing the width of a few places to make it a bit easier to print.

Happy to share the results.

1 Like

Hi chuckhays,

Here are the files in two formats: the original Inventor format (.ipt) and STP format.

Inventor format:
20181128 Ball Reloader Half 1.ipt
20181128 Ball Reloader Half 2.ipt

STP format:
20181128 Ball Reloader Half 1.stp
20181128 Ball Reloader Half 2.stp

If you print them in the orientation shown in the picture, I was able to add supports to create more surface area in contact with the build platform. Good luck!

Paul

Thanks so much for sharing Paul!

All of the links currently lead to 404 errors however.

Oops! Sorry about that. I fixed the links.

I use a magnet to pick up the balls. Advantage is that you pick up all balls with just one move. Putting the balls back into the board remains difficult.

Hi! I’m just joining in. I love the game, and I share the frustration about moving the balls from the bottom to the top. I was just about to design something very similar, and I’m glad you thought of that already!

Question: what’s the benefit of a curved design, as opposed to a straight cylinder? I’m not a 3D printing expert (just starting my 3D printing journey) but it seems to me like a straight cylinder, perhaps with a slight widening toward the back, could be printed in one piece with no support - would it not?

I’d also suggest adding an ability to stick a pin in the last hole (to prevent marbles from running away by accident) and to count balls from the other end. I’d like to control how many balls I release, rather than how many balls I have inside this device. So, if I only want 8 balls, I’d stick another pin after the mark “8” and only allow 8 balls to go out.

Thoughts?

I’ve never had anything 3D printed before, so I want to make sure I’m not doing something wrong. I uploaded one of the files to i.materialise.com and it’s showing around $15 PER HALF. Is that just a change in the cost since October?

OK brand new user here and i’m loving it, have now purchased one for my parents and also one for my nephew.

I like the idea of a combination of 3 items as follows:

  1. Straw (as many have suggested) built with two small ‘luggs’ on the internal surface at one end - so the straw can be used like those cylindrical tennis ball / golf ball retrievers where you simply walk around and slide the cylinder over the balls and the luggs prevent the balls from dropping back out when you pick it up.

  2. A small 3D printable clear ‘Shute / Shield’ for the start position so it can fit snugly and offer a round hole at the top. Upend the full straw and the balls empty into the Shute which then directs the balls into the start position and has a Shield over the start area to prevent the balls from jumping out.

  3. A mirrored version of the clear Shute / Shield (one for blue and one for red sides).

Use the straw to collect all the blue balls by sliding the Lugg end over each of them in the return tray - empty them into the blue start section, then repeat for the red section.

I’d love to give this a bit of a test drive if I had a 3d printer.

Cheers all - happy building
d3ansy

1 Like

I think the staging area for the balls could use an optional clear window to retain the balls in the section near the release cam, so they can’t get squeezed out of place.
Also, a funnel or hopper would be helpful, so re-staging the balls could be done with more of a fast fluid pouring motion instead of a slow individual insertion/poking motion.
Maybe combine the two ideas.

I got some printed although could not get a cheap as mentioned they are very useful thanks

Wanted to post a quick update. Many many thanks to Paul for the design, woks great. I had a couple printed up for my self and some family that we bought Turing Tumbles for here in Australia. A little costly atm, but we’re always behind with stuff like this for a while. The tolerances must have been a little wide as everything seemed a little ‘oversized’ and my first few uses were pretty unsuccessful.

The rubber band I was using was clearly not able to hold back many more than 5 or 6 marbles. So a new thicker rubber band and a little fiddling later and problem solved.

TumbleStraw2a

By crossing over the rubber band you can tighten ever so slightly the band itself, and, more importantly, the angle or direction of pull action by the rubber band is now more in line with the marbles so it manages to hold them back more successfully and you won’t get that occasional sneaky one dropping back out after you’ve collected him.

Again, big shoutout to the designer though.

Cheers All
Nathan

1 Like

I’d love this! The only thing I can find that is below incredible is the fact that I drop the balls a lot when I’m resetting! :smiley:

Excellent design for this system. I made a couple of tweaks to it to make it print easier on my printer. I removed the numbers from one side and printed that side facing the bed. If you have your printer set up decently and watch the way your slicer creates the layers then you can print as one piece on a single extruder machine as everything is just bridging except for the rubber band hook and a little bit of the pickup end. The only supports I used were some custom supports covering only the two areas mentioned above. Attached is the stl / step file for my version. I printed these at 0.15mm on my Monoprice Maker Select V2 / Wanhao Duplicator i3 with a 0.4mm nozzle.
image

20200101 Ball Reloader easy print.step (2.9 MB)
20200101 Ball Reloader easy print.stl (4.6 MB)

These pencil eraser tips work too. Squeeze to release the ball
image

1 Like

Great challenges :stuck_out_tongue:

As a new timer I find these things frustrating

  • Moving the balls from bottom to top again
  • Removing the balls from the bottom part
  • Bumping against the board by accident and making the balls fall, triggering stuff

Ok, how to solve the frustration
About moving the balls, perhaps working with a cartridge is another idea. At the bottom the balls fall into a removable cartridge. And the cartridge can also act as a candy dispenser, dispensing a ball at a time to be able to separate the colors.
And perhaps, if the balls are all the same color, the whole cartridge can be placed at the top.

Removing the balls from the bottom part. perhaps a gate of some sorts can release all the balls into a container.

And Bumping against the board, locking the bottom gates would help not activating the machine. And adding a transparent window at the top would help keep all the loaded balls in place.

Like other straw based ideas, I find a 3M sticky note rolled around a BIC pen, with one end taped closed, creates a perfect tube for selecting, capturing and moving the balls.