I got a TT board for Christmas, and we’re busy printing parts, which is going well so far. I was given a set of 5/16 ball bearings to use as the red and blue balls…but now I’m realizing I won’t be able to distinguish between the ones that start on each side. My first thought was to sharpie the ones on one side… but it turns out that sharpie doesn’t actually stick. Any ideas for marking the ball bearings?
2 Likes
How about spray paint? Possibly the high temp enamel kind?
Unfortunately, there’s no paint that’s going to stick to chrome without a lot of prep work I didn’t want to do on tiny ball bearings. We did find a workable solution, though! My husband is a smarty-pants, and decided to try discoloring the chrome on some of the ball bearings using regular yellow mustard. He put some mustard (and some vinegar, just to thin it out) in a glass custard cup, put the chrome ball bearings in the mixture, and put it in a 200 degree oven for a few hours (just to speed the chemical reaction up, room temp overnight would work, too, I’m sure). I’m going to try to attach a picture of the result. It definitely makes them distinct, it darkens them and makes them less shiny. 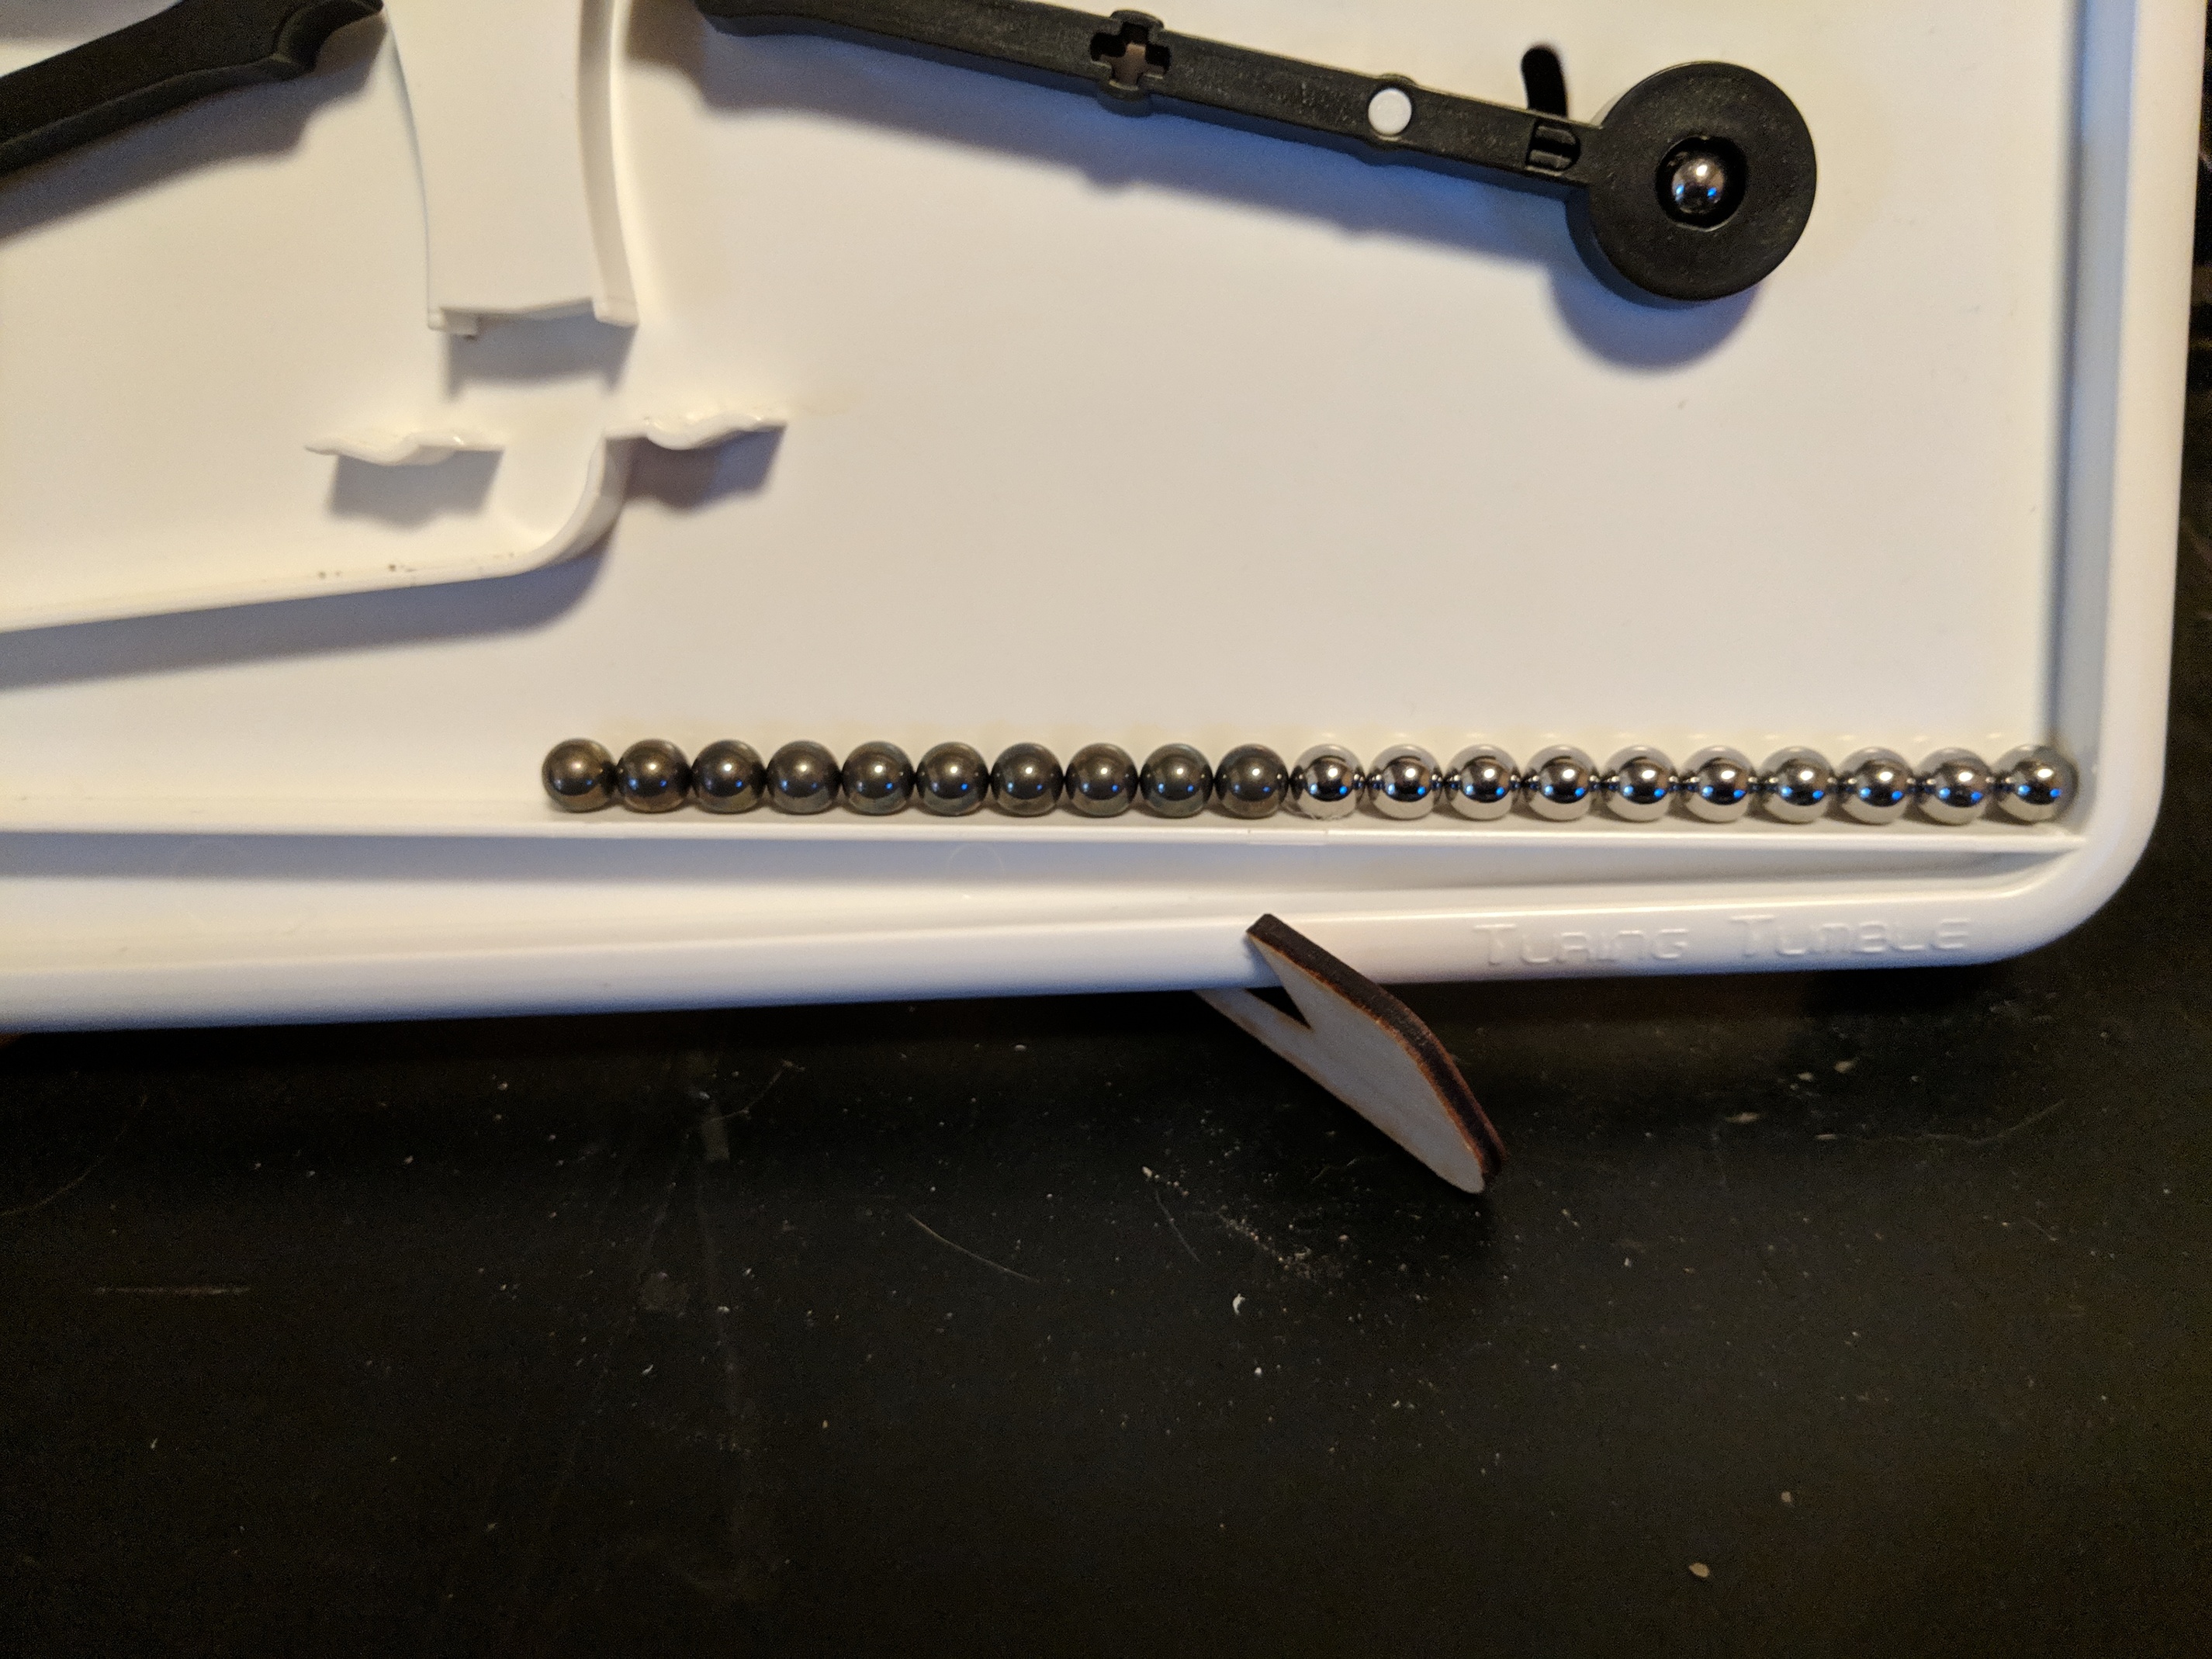
4 Likes
I ran into the same issue, in a different way. I’m color-vision deficient, and have to have a very strong light to distinguish the red balls from the blue balls in the original kit.
I wish they would make a black/white variant available.
2 Likes
Hi Sandy! I didn’t see this post until just now. Wow! This is really cool! Any chance you could take a picture of the whole setup? Did you get everything working? I see you laser cut the legs and 3D printed the rest of the parts. That was smart. Also, great idea with the colored balls!
I’m not sure how exactly the balls are painted for Turing Tumble. When I was prototyping, I used epoxy paint (http://www.klasskote.com/) and it works quite well. I didn’t have to do much other than rub them with steel wool to prepare the surface. It gives a very hard, durable, smooth finish. The downside is that epoxy paint is a pain to work with and it takes a while to interpret the instructions.
Very cool!
Paul
This is a great idea. How hard is the book to read? Would it be enough to offer black and white balls or would the colors of the balls in the book need to change, too?
Hi, Paul! Yes, everything is pretty much working! We bought the board and board parts (since those seemed harder to print on our relatively small 3D printer) and a virtual kit, and eventually got the parts to print in a mostly-workable way (I haven’t spent a lot of time sanding them down so there are no threads, so occasionally a ball will stick and need encouragement to continue moving, but I’m fine with that). I’ve attached a photo of one of the puzzle setups. My husband printed all the parts in white, so I just used colored sharpies to make the front of each type a different color. As you can probably see, we tweaked the 3D print files a bit to make them easier to print out; no pegs poking out to grip the parts with; the faces of the parts are the “bottom” of each print. They’re no more difficult to put on and take off of the board that way. It does mean printing more ramps, because left and right ramps are now separate parts, but that’s just more time and plastic. We did use a drill bit to clean out the holes that go over the pegs on the board.
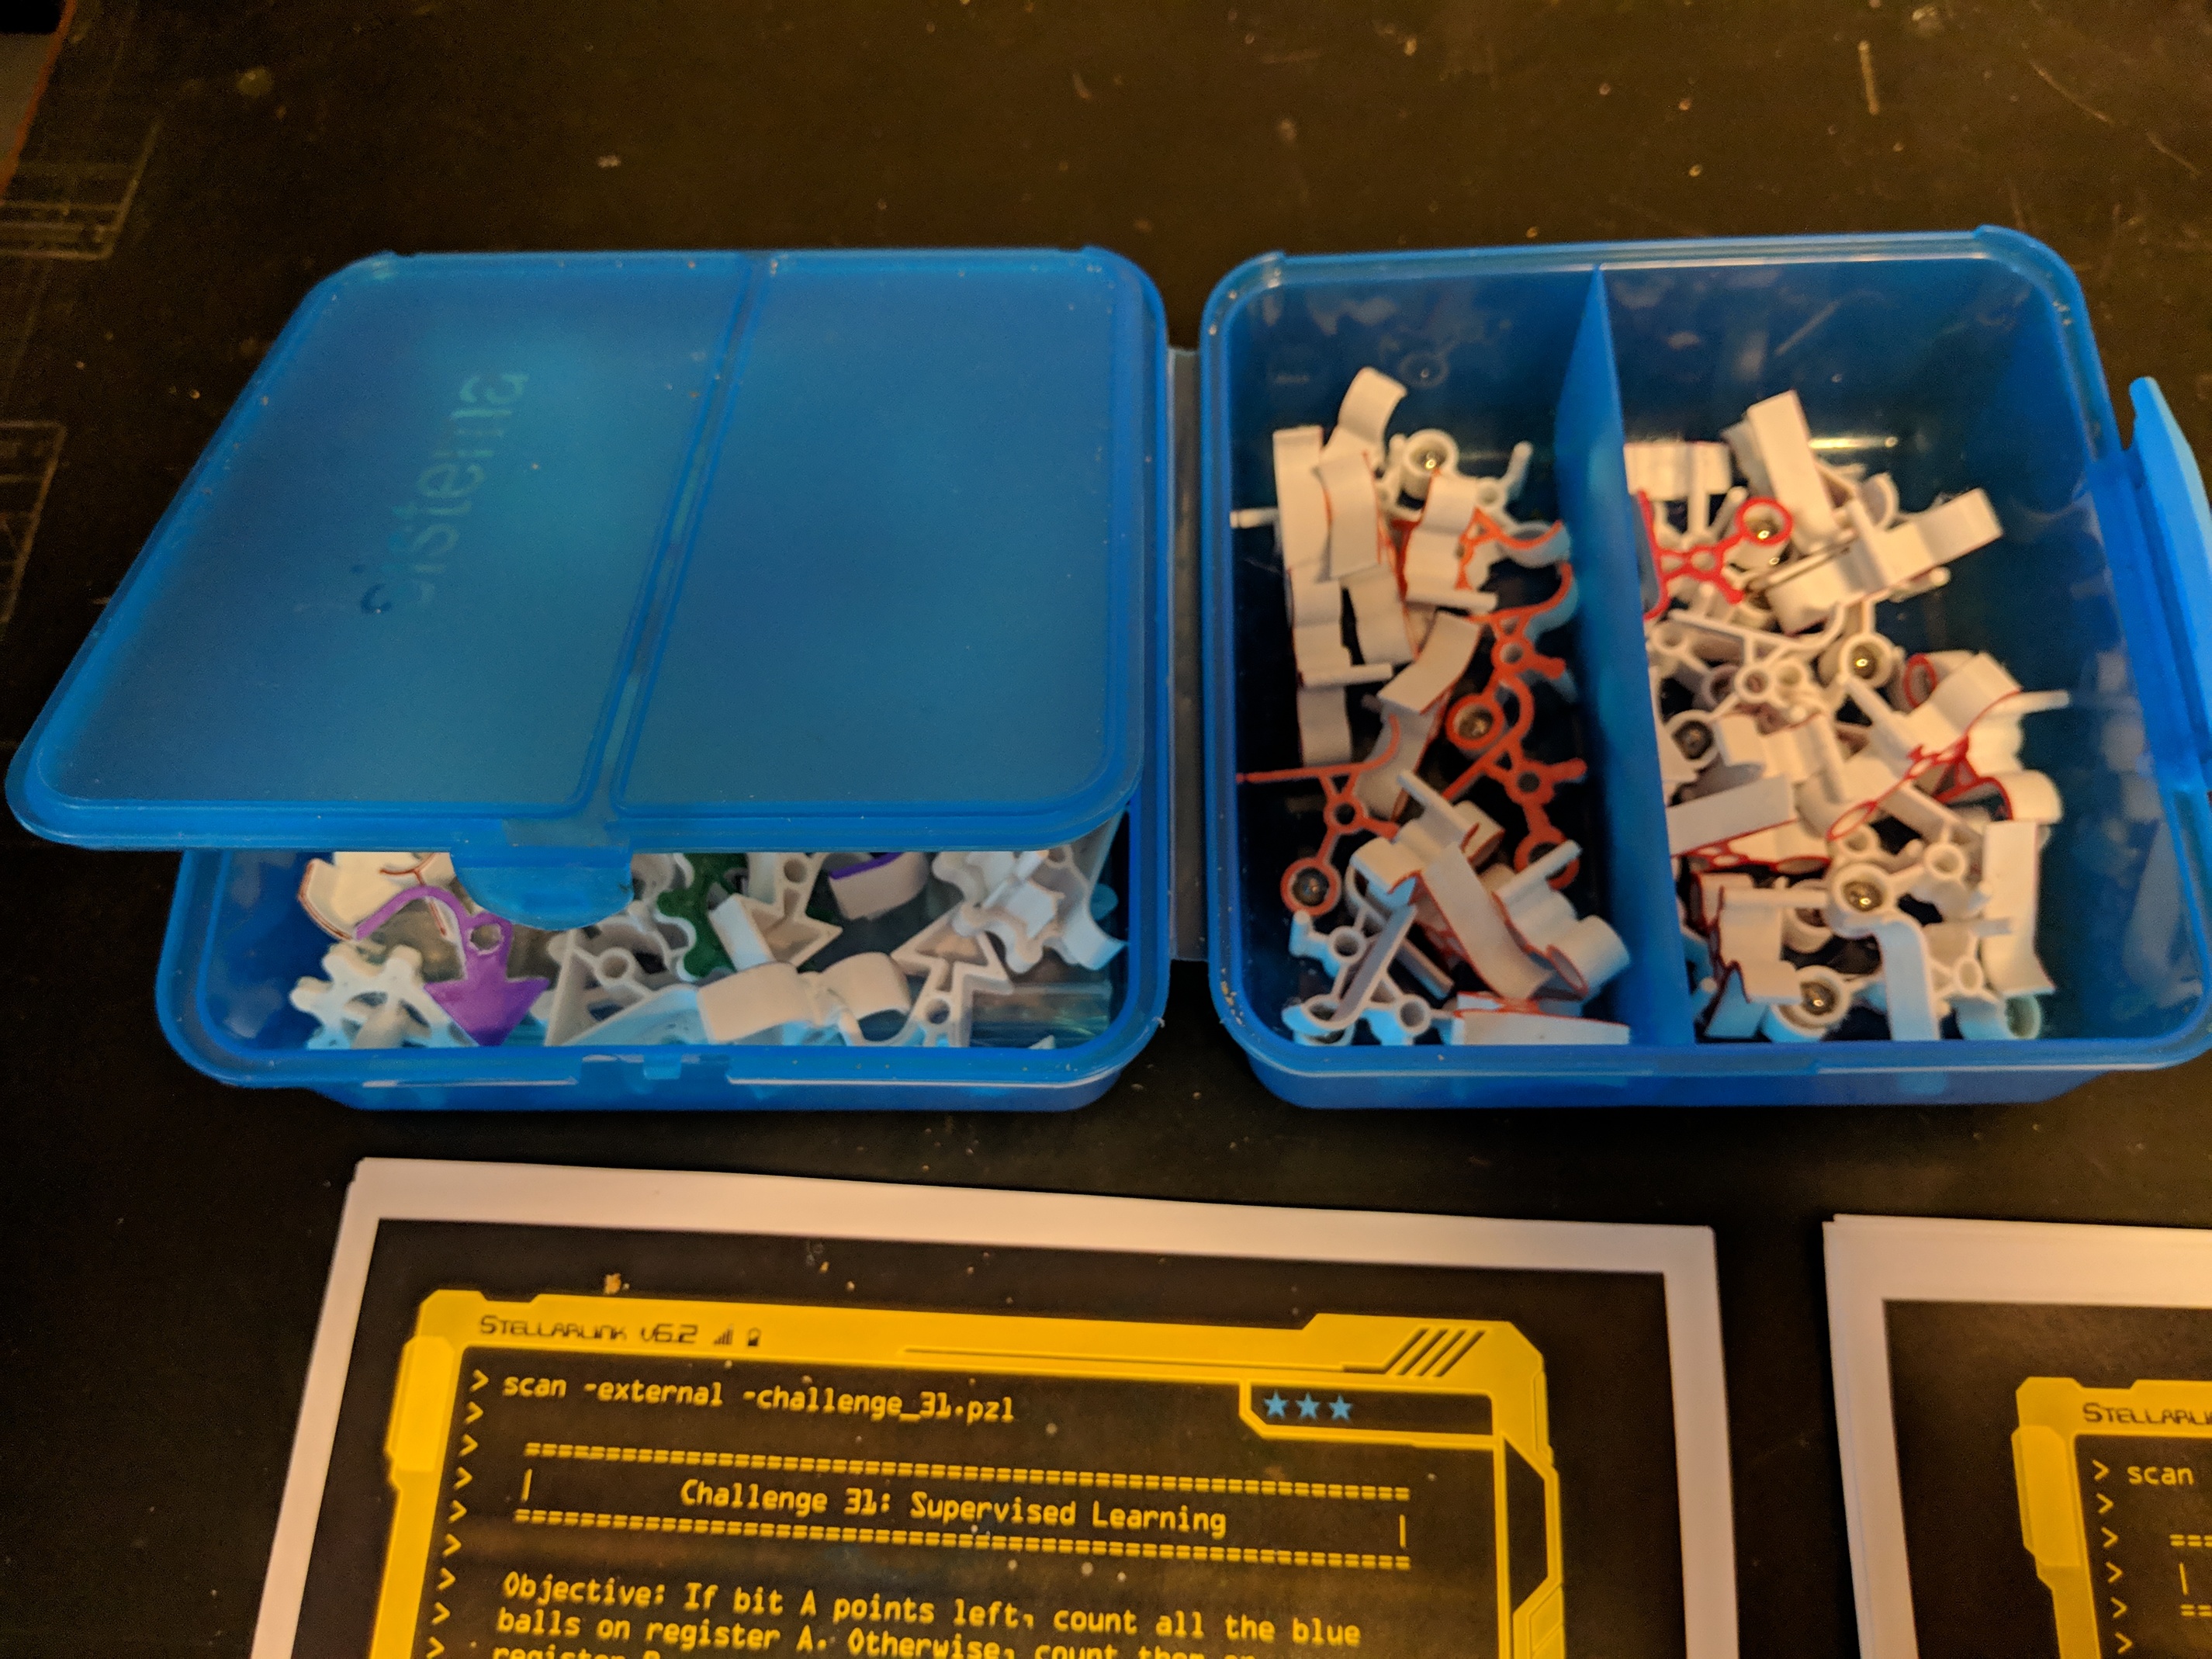
I’ll also attach a photo of my storage solution; a container meant for a sandwich and some lunch sides; the split half keeps my two ramp types separate, and the rest of the parts and the extra balls all fit in the main compartment. Keeps the bits from being tempting to the cats when I’m not actively playing with it.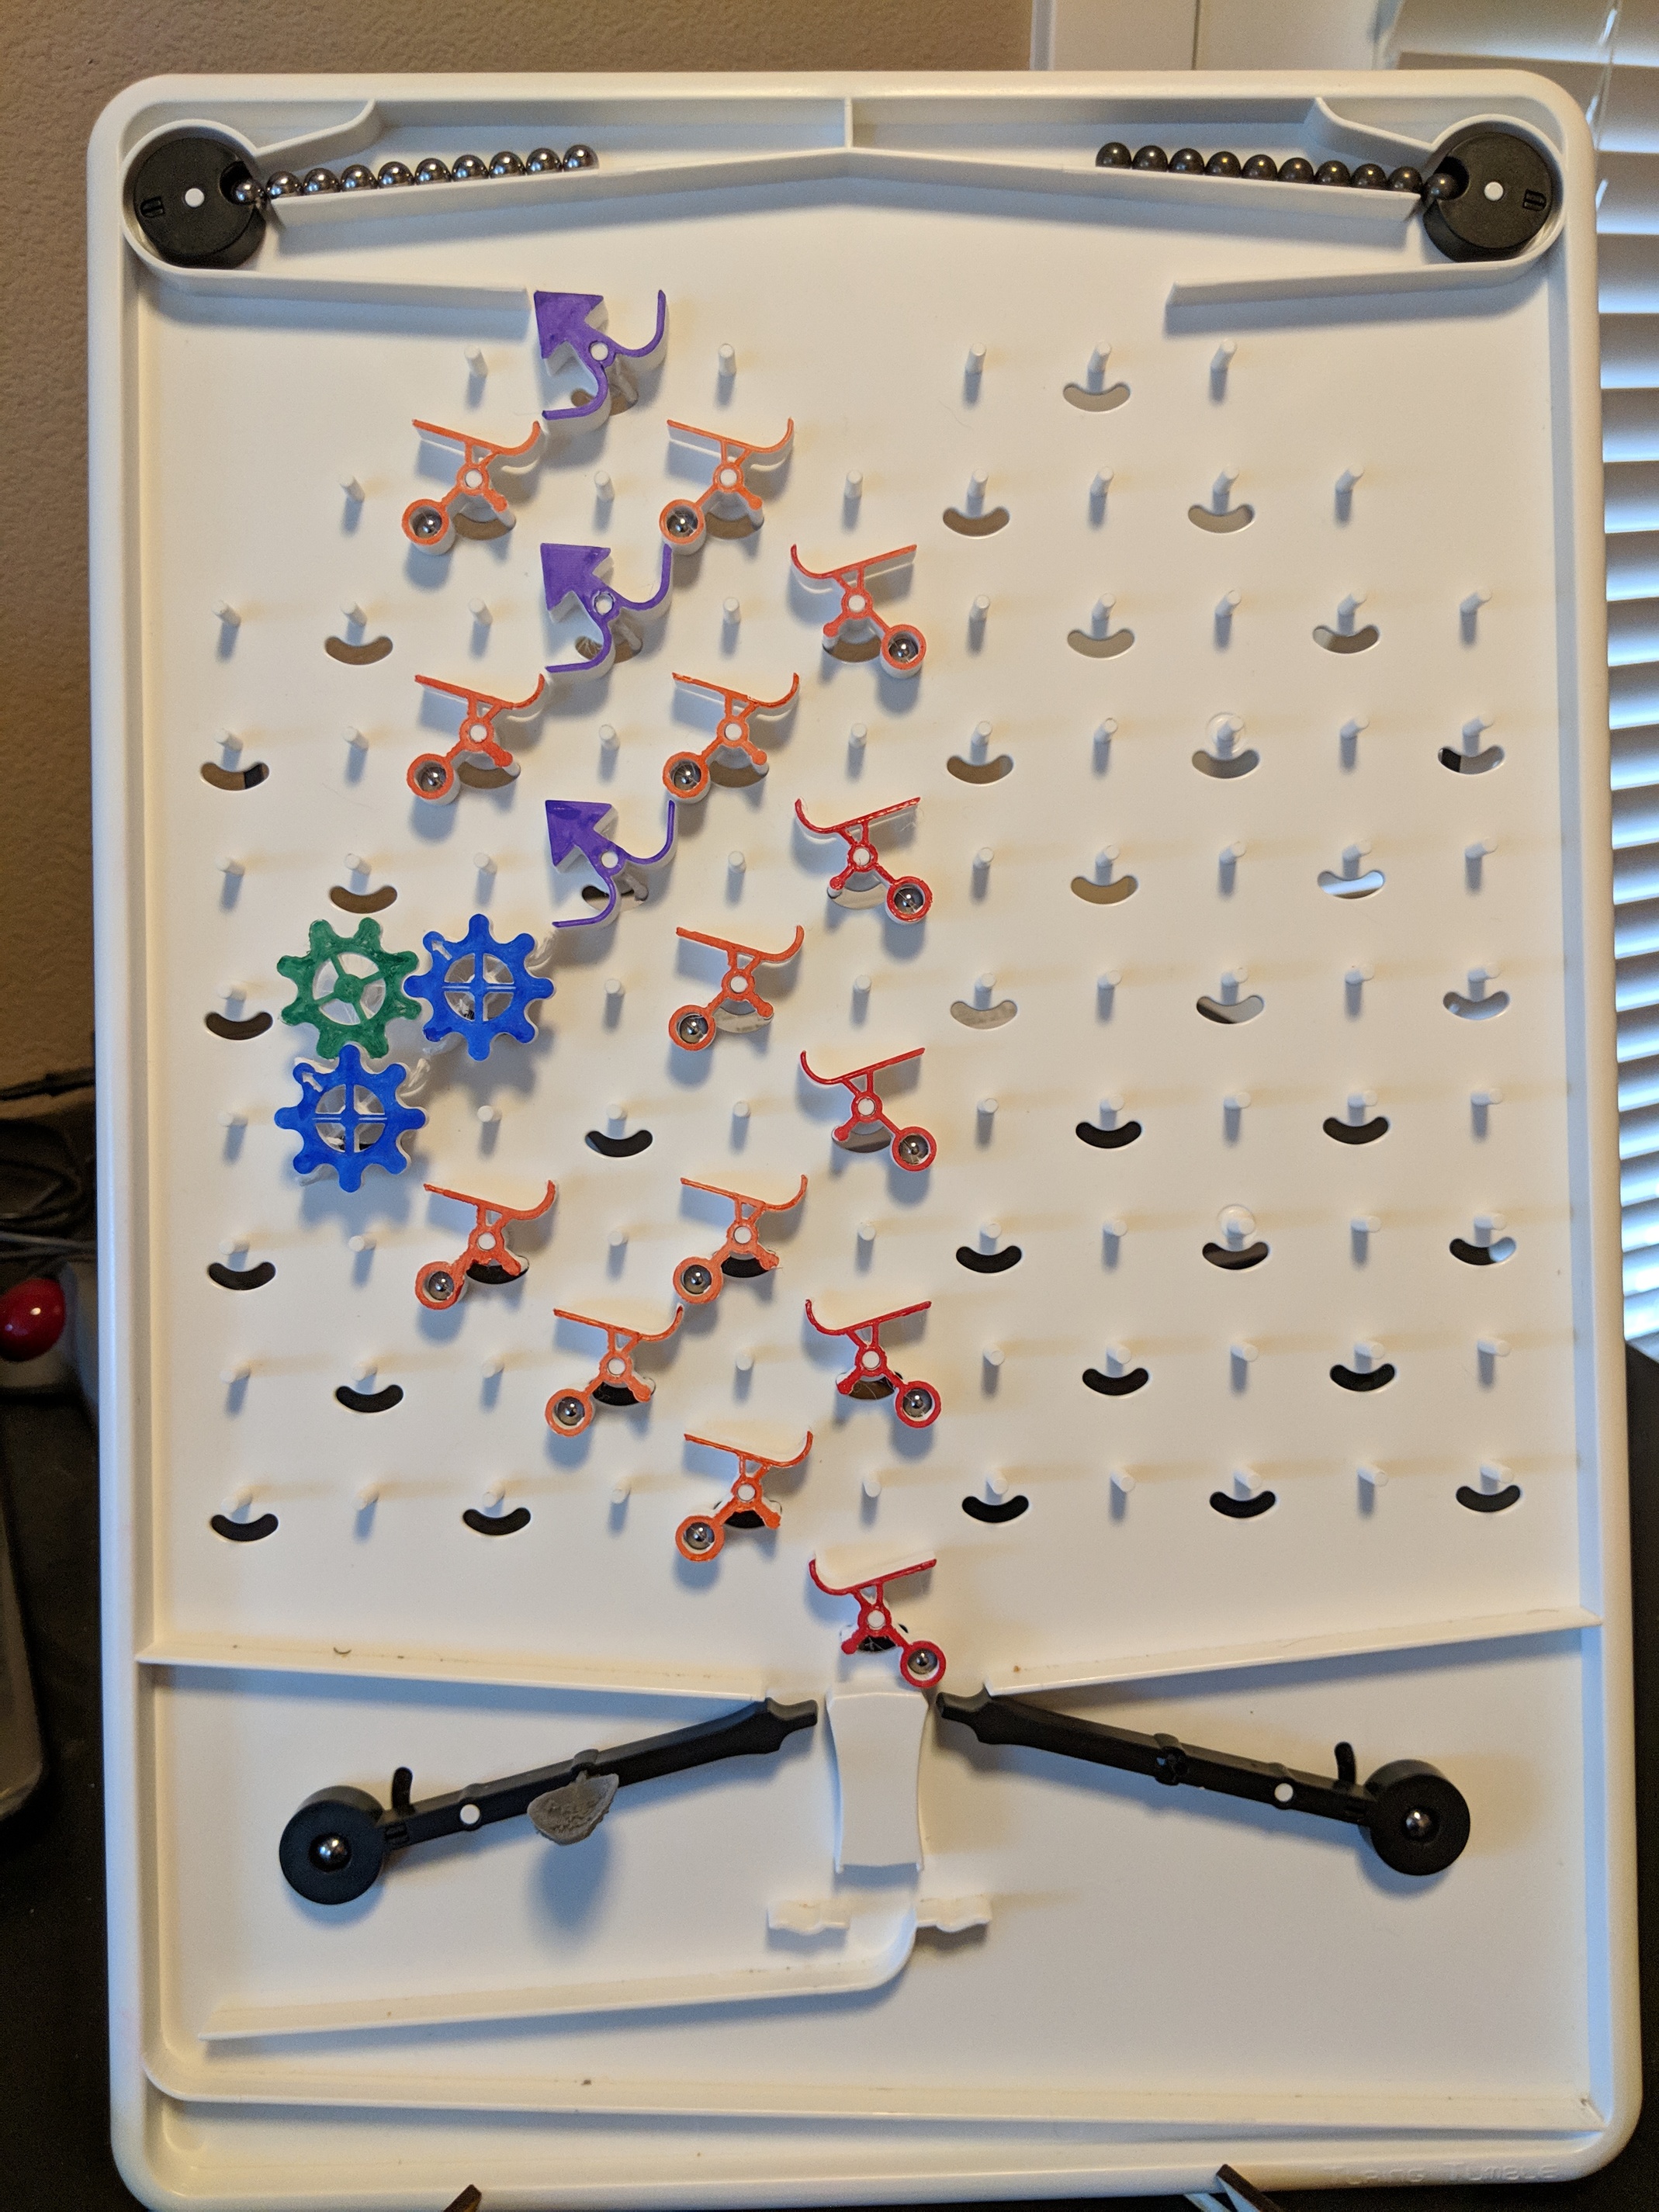
1 Like
Here’s the storage bin; I could only attach one image per post. 
1 Like
Oh, and yes, laser cut the stand parts; those were also too big for our 3D printer to do in one go. We just made the parts flat, seems to work fine to hold the board at the right angle.
1 Like
Nice work! Wow! Thanks so much for sending the pictures. You did a very nice job and it looks like you printed a lot of parts there. If you have a moment, is there a chance you could post your design for the laser cut board stands? I know some other people have the same problem and it could help.
Thanks again for posting. It’s really fun to see!
Paul
1 Like
I’ve just come to the same conclusion! I wish that I had read this before printing 20 x bits! It is difficult to 3d print the existing files because they don’t sit well on the printer bed and require awkward supports. However, if you remove the handling pegs from the .stl files, you can orient the parts to sit nicely and so no longer require supports. The difference this makes to quality and the time to print makes it well worth the loss of the pegs.
yellow mustard didn’t work for me so I used a nail polish dip. not perfect but it differentiates them