Many homes have “an upstairs” that you can get to via a flight of stairs, and some things are better done upstairs, for example the view out of the window might be better up there, or it might be a quieter place to sleep.
Well, what about marbles!? We’ve seen many of the amazing things they can do on the “ground floor” of the TT board, but is there some extra stuff they could do if we built them another floor? What does it mean for a marble to be on the “second floor”?
In this post we’ll try to answer some of these questions, and show what cool stuff can be done!
Construction material and tools
Here is what I used for this project:
- A TT set
- Some extra TT pieces
- Some wire (I used 18 gauge copper wire)
- Some matches
- Some sticky tape
- A cereal box
- A cutting tool (get a parent to help with this!)

Community
A lot of the inspiration for this work comes from others. Firstly there’s the TT board itself - it’s awesome. Then there is the TT community (again awesome) and all the ideas people have.
For example look at this post:
Hello Turing Tumble Community!
and some of the replies, e.g.
or look at
Multiple Ball Drops (Parallel Processing)
Part Idea: Stored/Releasable Ball
Part Idea: Reflector, the opposite of crossover
When is a marble considered to be “upstairs”?
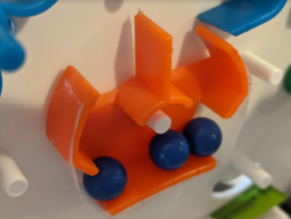
Whenever a marble is not touching the white TT board, it can be considered “off the ground”. If it is resting on some other surface then it can be considered to be on another floor. For example in the picture below the red marble is resting on a piece of cardboard, so it might simply be considered to be “hanging out upstairs”.
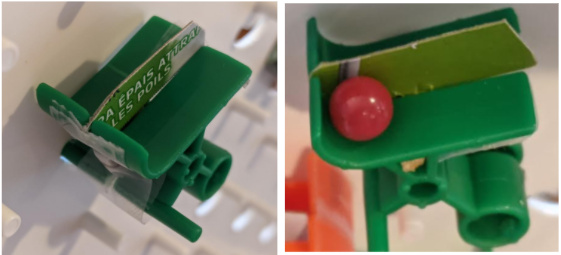
What is that weird looking part?
Well let’s call it a “double Ramp”. We’ll talk more about it in a little bit.
Getting upstairs
The TT board is almost vertical, as opposed to the floors of real houses which are, ideally, horizontal. This means it takes a lot less effort to “get upstairs” on a TT board – basically just an angled wire will do the job!
I’ve tried a couple of ways of doing this (see the pictures below): on the left is adding some wire to the Interceptor part in an effort to allow the marble to exit the front of the Interceptor. This works well if the marble already has some momentum. On the right is the result of applying more surgery to an Interceptor part, and adding a slope to the part to help the marble leave the surface of the TT board.
Doing stuff upstairs & how to make the double Ramp
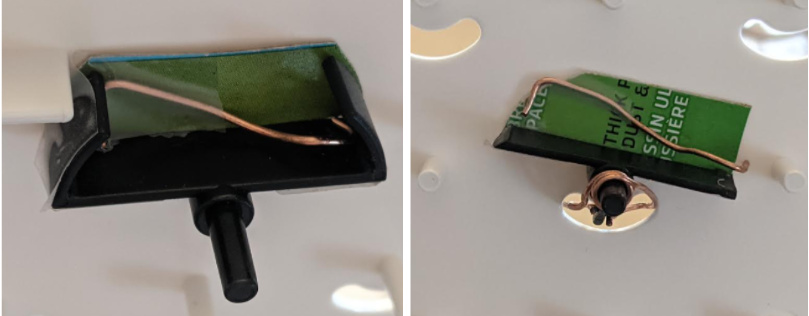
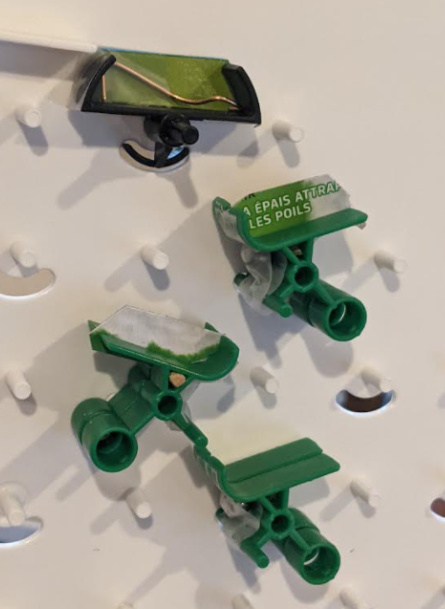
Once the marble has made its way upstairs, it hopefully stays there for a while. Ramps are a good way to catch a marble, and move it on to the next location. By sticking two ramps together and adding a little cardboard between them the marble is kept from returning to the surface of the TT board.
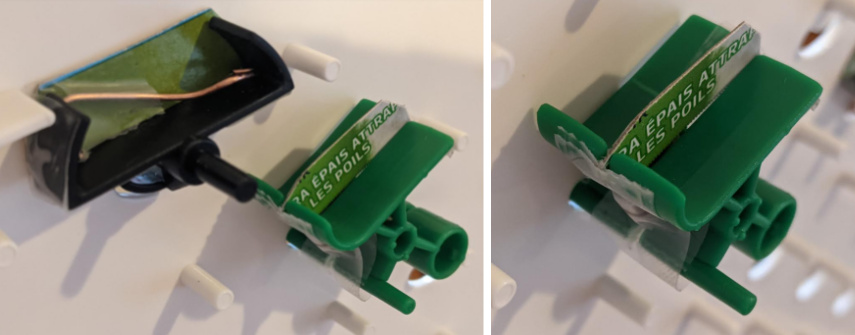
To stick the two Ramps together one of the bottom prongs needs to be removed from each Ramp. A match can be placed in the top hole. And a little sticky tape can be used to keep them together.
One of the silver counter weight marbles has been removed from one of the ramps and taped to the front center of the double Ramp. This allows just one marble to cause the Ramp to tip.
As we’ll see later you might not want the Ramp to tip for just one marble. But we’ll get to that in a bit …
Getting downstairs
Getting the marble back to the surface of the TT board is a fairly simple thing to do - just create a double Ramp as before but do not add any cardboard between the ramps. Gravity will do the job of bringing the marble back to the ground floor via a marble slide!

Journey #1 - a simple trip upstairs and back!
The pictures below show what it takes for a marble to get upstairs, stay there for a journey through two Ramps, and then return to the TT board.
Journey #2 - releasing marbles from within the game board!
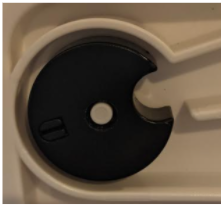
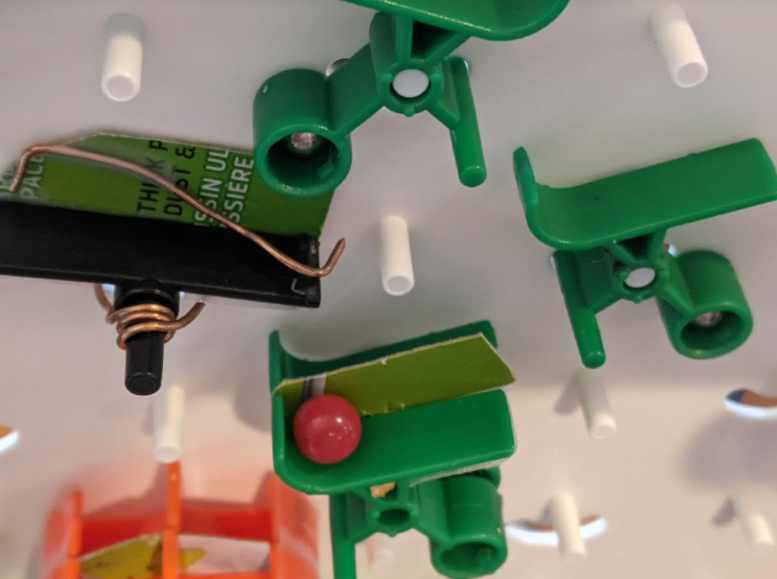
Have you ever looked at the back of the TT board, and seen how cool the marble release mechanism is? With very little effort you can bring this cleverness to the front of the board.
The release mechanism normally looks like this:
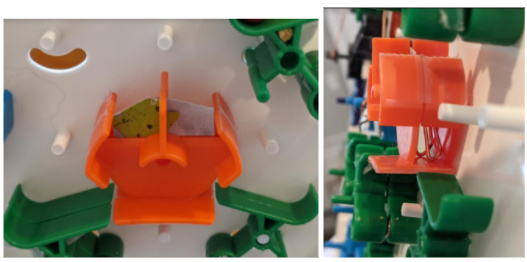
If you insert a knife in the hole, and rotate the part, you can wear away at the front portion of hole a little, and this will allow the part to be flipped over and put on backwards (see the picture below). Get a parent to help with this!
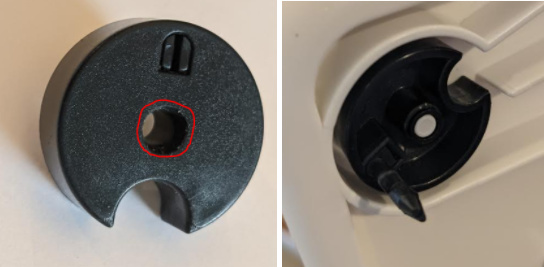
When done correctly the part should rotate freely, if it is put on front-ways or back-ways. The piece will continue to work in both orientations, i.e. you will not be damaging the part in any way by wearing away the front of the hole a little.
An Interceptor part has a handle that very conveniently can house the release bar. Notice that in doing this the release bar moves in a plane that is shifted out from the board, i.e. it is “upstairs”.
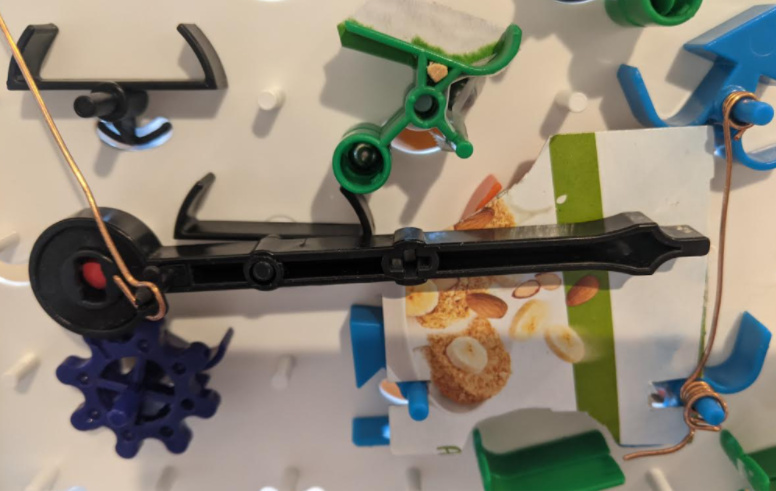
We can bring marbles to the release bar, in the normal way of getting them upstairs and using Ramps to get them to the desired location. While engaging with the release bar the marbles travel on a large piece of cardboard.
As the release bar lowers it frees another marble into the game board. This is accomplished by joining the release bar and the release mechanisms with a piece of wire of the appropriate length:
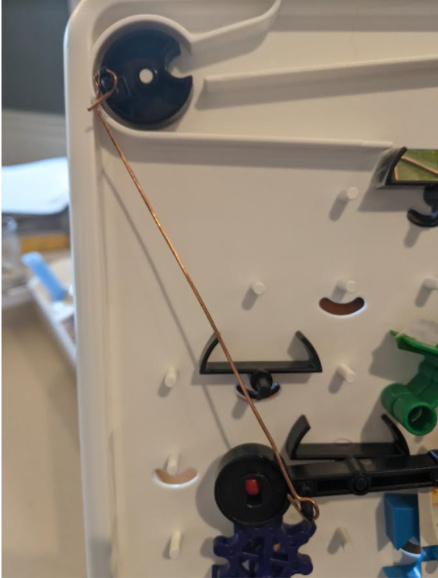
After doing this the release mechanism will continuously release marbles! See the video below:
Notice that, in this example, all the marbles get caught in the end, because we have modified the Crossover parts to act like big Interceptors by adding sticky tape to the sides 
Also notice the number of balls in each of the “buckets” is 1-3-3-1, which is the 3rd row of Pascal’s triangle.
See also:
Journey #3 - racing marbles!
Remember the section on making double Ramps? If you make a double Ramp but leave the silver counter-weight in each Ramp, then the Ramp will only tip when it gets two marbles.
Below is a picture of such a double Ramp. When a second marble appears from the right hand side of the picture it will stay attached to the TT board, and will cause enough weight for the Ramp to tip!
When two marbles are being simultaneously released like this, then a cool thing to do is combine a CrossOver and a “Reflector”. A reflector is not an official TT part, but you can make one by blocking the center of a CrossOver. In my case I used some of the wire.
See the video below for two racing balls!
One balls waits for the other, and then they race!
Journey #4 - putting it all together!
It’s simple enough to make a minor modification to journey #2 so that the it releases the two balls necessary for journey #3. Here is the video of the two parts together:
3d-printing
There seems to be a lot of potential to replace some of the wires and matches and sticky tape and cereal boxes with 3-d printed components. Please let me know if you do!